
Selenium is a software library that’s used to automate web browsers. It’s often used to run automated testing but can be used for anything involving a web browser. Since so much software is now running in the cloud and accessible via web interfaces Selenium is ideal for automating lots of manual tasks.
There’s libraries available in many different languages and for many different browsers but for this how-to I’ll be using python and Chrome.
To use Selenium and Chrome you’ll need to download an executable called ChromeDriver and place the file somewhere on your computer. The executable must be used in conjunction with an installed Chrome browser. You need both the Chrome browser and ChromeDriver installed to use Selenium.
1. Download ChromeDriver
Download the file from https://chromedriver.chromium.org/downloads and place somewhere on your computer.
If you save the executable in the same directory as you existing Chrome you don’t need to specify the location in your code, otherwise you’ll need to provide the path to the executable in the code.
The version of ChromeDriver you download must match the version of Chrome you have installed. After downloading just unzip the file and place the executable in your file system.
2. Install Selenium
You can read about Selenium from their site and also read the full Python API docs.
To install simply use pip
pip install selenium
If you’re using Anaconda either use the Anaconda UI or from the conda terminal type:
conda install -c conda-forge selenium
3. Starting a new browser session
The most basic code to start a new session is shown below. Note that here I specify the path to the chromedriver.exe, if you saved it in your Chrome directory this parameter is not required.
from selenium import webdriver
from selenium.webdriver.chrome.options import Options

WIN_DRIVER = "YOUR PATH TO chromedriver.exe"

# control if the browser will be visible (if headless==True then invisible)
HEADLESS = False

# create the options with the HEADLESS variable
chrome_options = Options()
if HEADLESS:
    chrome_options.add_argument("--headless")

# create a new webdriver object passing the options and path to chromedriver.exe
driver = webdriver.Chrome(options=chrome_options, executable_path=WIN_DRIVER)
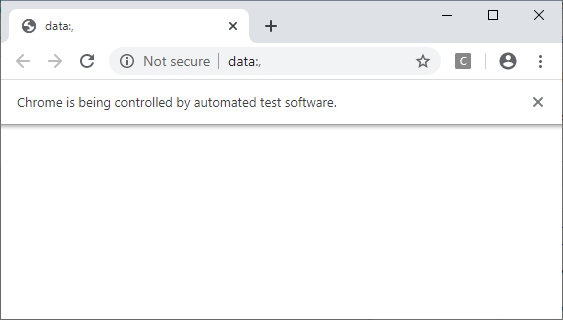
Breaking this down into more detail this creates a new webdriver object which will opens a blank Chrome browser on the screen. The only import option to pass to begin with is the one to control if the browser will be visible on the screen (headless).
4. Navigating to new pages
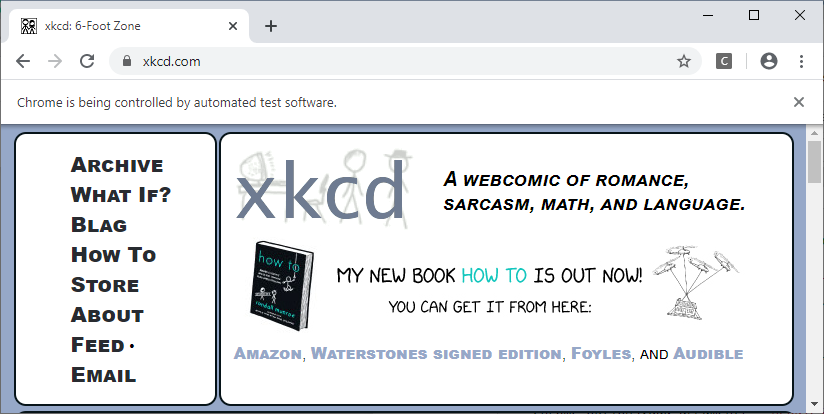
To load a new web page we use the driver.get() command
driver.get('https://xkcd.com')
5. Locating Elements
Once the browser is running all that’s left to do is actually automate the actions you would like. 99% of this involves reading either reading content from pages or finding and interacting with elements on the page, such as clicking links or selecting check boxes.
Finding element by id is one of the most common and reliable ways to find an element. Here we locate an element with id mylink.
from selenium.webdriver.common.by import By

link_elem =(By.ID, 'mylink')
e = driver.find_element(*link_elem)
If an id isn’t available you can use any of these methods to find an element.
- ID = “id”
- XPATH = “xpath”
- LINK_TEXT = “link text”
- PARTIAL_LINK_TEXT = “partial link text”
- NAME = “name”
- TAG_NAME = “tag name”
- CLASS_NAME = “class name”
- CSS_SELECTOR = “css selector”
I won’t cover all the options to locate elements since the official docs do a very thorough job.
6. Interacting with Elements
Reading Attributes
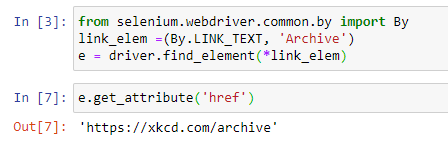
Once you’ve located the element or elements you can then interact with them or read their attributes. For example on the xkcd page first get the Archive link using By.LINK_TEXT and then read it’s href attribute using the get_attribute() method.
from selenium.webdriver.common.by import By

# get the link with text Archive
link_elem =(By.LINK_TEXT, 'Archive')
e = driver.find_element(*link_elem)

# get the href of the link
e.get_attribute('href')
You can also get multiple elements at once using find_elements (note the s on elements). On the xkcd archive page there’s a long list of links to every comic created.
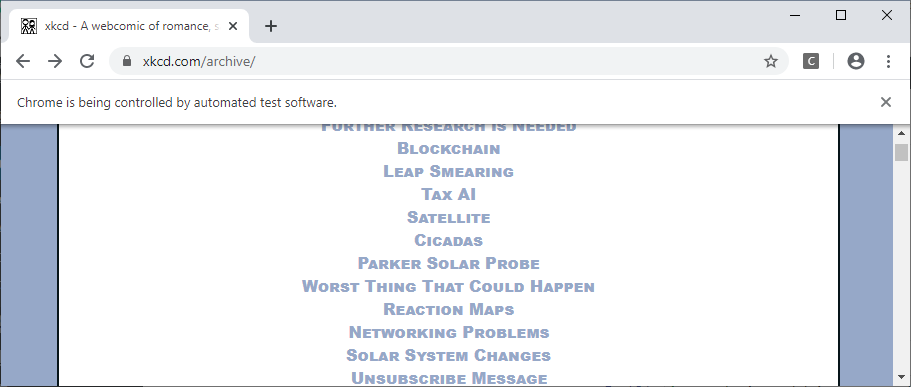
To get all these links we can use this code. Broken down we:
- Wait until an element (‘licenseText’) at the very bottom of the page is located
- Locate the elements that are in the div with id=’middleContainer’ where the link text contains the word ‘Science’
- Loop through the list of found elements and create a new list with text, href and title.
# wait for element at bottom of page to be sure it's loaded fully
link_ref = (By.ID, 'licenseText')
e = WebDriverWait(driver, 10).until(EC.presence_of_element_located(link_ref))
# get all links containing the word 'Science'
link_ref = (By.XPATH, "//div[@id='middleContainer']/a[contains(text(), 'Science')]")
e = driver.find_elements(*link_ref)
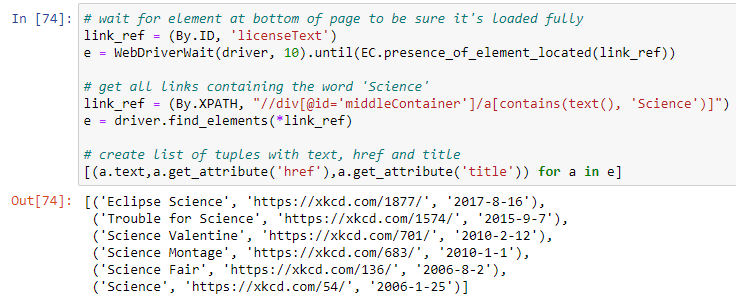
# create list of tuples with text, href and title
[(a.text,a.get_attribute('href'),a.get_attribute('title')) for a in e]
The output should look like this.
Clicking and Selecting
If the element can be clicked, like links, buttons, check boxes etc. then simply click them!
e.click()
Given a select element that looks like this:

The code below will allow you to change the value in the drop down. You can either change the select using the value (which isn’t visible on the page but you can see in the html), the visible text or by index.
from selenium.webdriver.support.ui import Select

elem_ref = (By.ID, 'my_select')
select = Select(driver.find_element(*elem_ref))

# select value the value
select.select_by_value('4')

# select by the visible text
select.select_by_visible_text('Bitcoin')

# select by position of the element to select
select.select_by_index(1)
6. Exception Handling
The two most common exceptions to catch are when you cannot locate an element on the page or the script times out while waiting to find an element. To catch these we need to import the exception handlers from selenium.
# import the exception handlers
from selenium.common.exceptions import NoSuchElementException, TimeoutException
Catching when you cannot locate an element:
link_elem =(By.ID, 'my_elem')
try:
    e = driver.find_element(*link_elem)
except NoSuchElementException:
    print('Element can't be found')
Catching when the script times out trying to locate an element:
link_ref = (By.ID, 'my_elem')
try:
    e = WebDriverWait(driver, 10).until(EC.presence_of_element_located(link_ref))
except TimeoutException:
    print('Element can't be found')
7. Handling Timeouts and Waits
By default locating elements will run immediately with no built-in delay. This means that if you just loaded a new page you might be trying to locate elements that haven’t yet loaded into the DOM.
To handle this there’s two main options, implicit waits and explicit waits.
Explicit Waits
An explicit wait is where you specify how long to wait before the action should timeout. The script will try to locate the element until the timeout and then throw a TimeoutException which you can catch.
from selenium.webdriver.support.ui import WebDriverWait
from selenium.webdriver.support import expected_conditions as EC
from selenium.common.exceptions import TimeoutException

link_ref = (By.ID, 'licenseText')
try:
    e = WebDriverWait(driver, 10).until(EC.presence_of_element_located(link_ref))
except TimeoutException:
    print('Element can't be found')
Here the script will wait for 10 seconds before timing out.
Implicit Waits
Once set implicit waits are set for every action in the script that follows. This script will wait 10 seconds every time you try to locate an element before throwing an ElementNotfoundException.
# import the exception handler
from selenium.common.exceptions import NoSuchElementException
# set the implicit wait here
driver.implicitly_wait(10)

driver.get("http://a_slow_page.com")
try:
    e = driver.find_element_by_id("my_element")
except NoSuchElementException:
    print('Element can't be found')
8. Alerts (Popups)
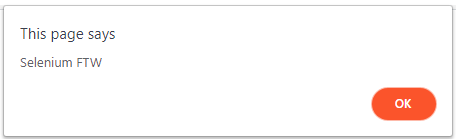
If the page generates a browser alert or popup box you can also interact with these using Selenium. To get the alert use:
alert_obj = driver.switch_to.alert
To read the message in the alert use:
alert_obj.text
To accept, dismiss the alert use:
# to accept the default
alert_obj.accept()

# to cancel
alert_obj.dismiss()
9. Closing the Browser
When you’ve done with your browser session it’s good to clean up after yourself. Close the browser session when done with:
driver.quit()
Help Locating Elements
On Chrome the Developer Tools (press Ctrl+Shift+i) are a huge help in location elements and getting their, Id’s, name or XPath. The image below shows how to access and copy the XPath of an element.
Resources
The jupyter-notebook example using xkcd can be downloaded from my GitHub repository.