Amazon S3 (Simple Storage Service) is a very commonly used object storage solution that’s cheap to use and highly reliable. Think of it as a file system in the cloud with enterprise features that you can use to store almost anything.
Amazon S3
This guide assumes you already have a working Amazon S3 account and you have created a storage bucket along with a user authorized to read and write to the bucket. You must also have the Key ID and Secret Key for the user so we can authenticate from Node-RED.
Node-RED Flow
Open Node-RED and add the node-red-node-aws palette. This will install nodes for reading, writing and watching for events in your bucket.
To test create a simple flow like below where you input some data using the inject node, append the data to a text file and then upload the file to your S3 bucket using the amazon s3 out node.

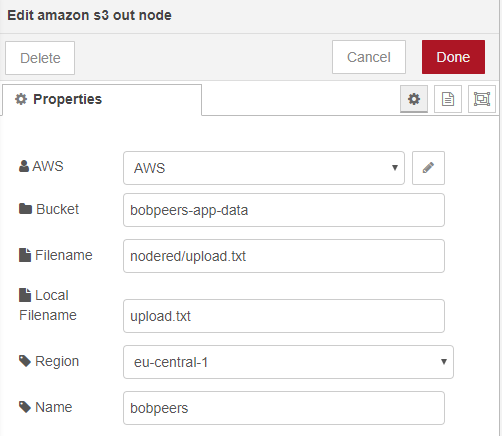
The configuration of the amazon S3 out node should look like this:
- AWS is where you enter your AccessKeyID and Secret Access Key
- Bucket is the name of the S3 bucket you created
- Filename is the name of the file you want to create in S3 including any folder path
- Local filename is the file you wish to upload
- Region is the AWS region you S3 bucket is located in

That’s all there is to it, when you deploy and run the workflow the inject node will append the timestamp to the end of the upload.txt file and then upload the file to S3.
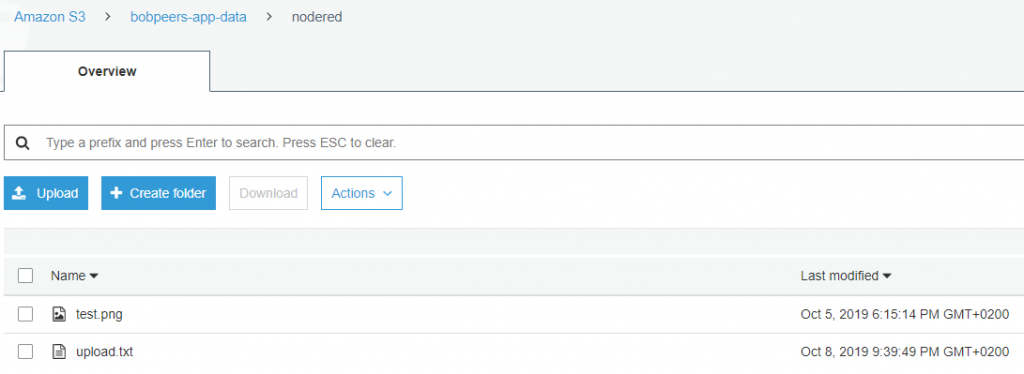
If you log into the S3 console you’ll see the file and contents.

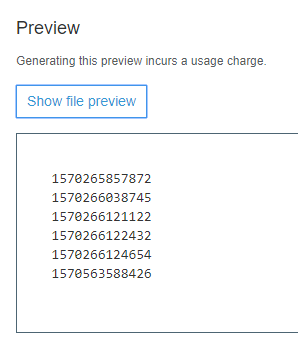
Previewing the file contents in S3 shows the appended timestamps.


Leave a comment