
This post follows on from my S3 post usng Node-RED so you can read that for a brief into to S3. Using S3 with KNIME is extremely easy as there is already an S3 node available to install.
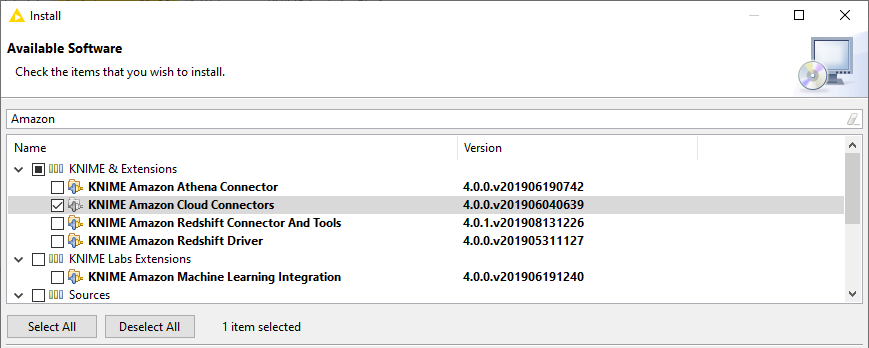
Amazon S3 Connection
The only node that needs installing is the Amazon S3 Connection.
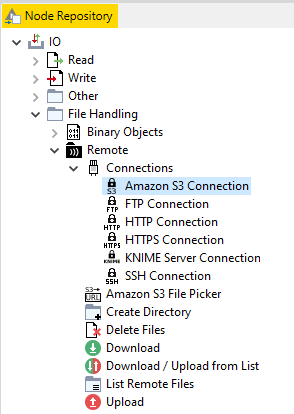
All the other nodes required to upload, download or list remote files are already installed in the IO section of the Node Repository in KNIME as shown here.
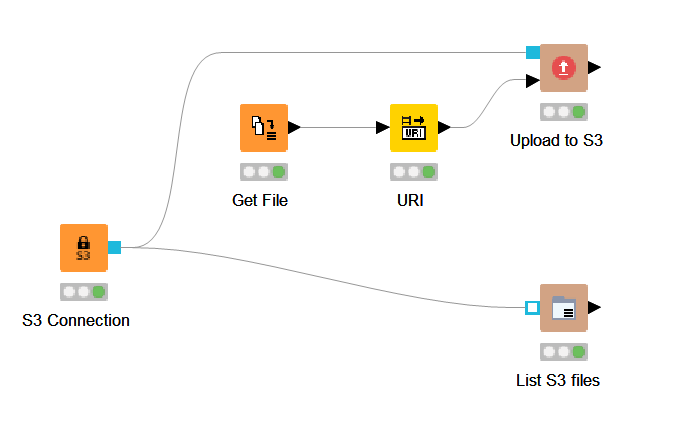
A simple workflow to upload a file and list remote files in the S3 bucket looks like this.
S3 Credentials
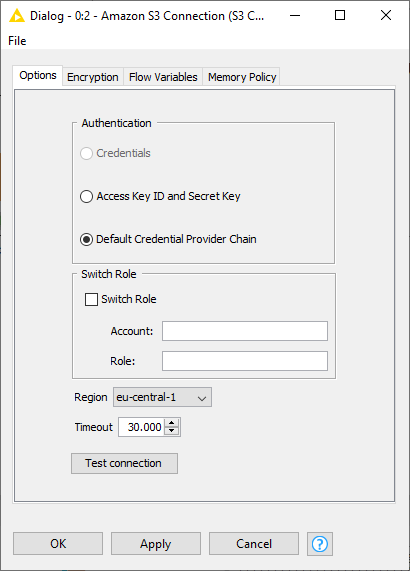
The S3 connection node is easy to set up and I recommend using the standard AWS credentials file so your do not save your id and key in the KNIME workflow. It’s clearly documented on the AWS site.
The only trick is to create folder starting with a dot (.) is not possible on Windows using Windows Explorer. To create the folder you must open a command line and use the mkdir command.
C:\Users\username>mkdir .awsS3 Connection Node
Configure the node to use your credentials file and select your AWS region. Test the connection before continuing to make sure everything works as expected.
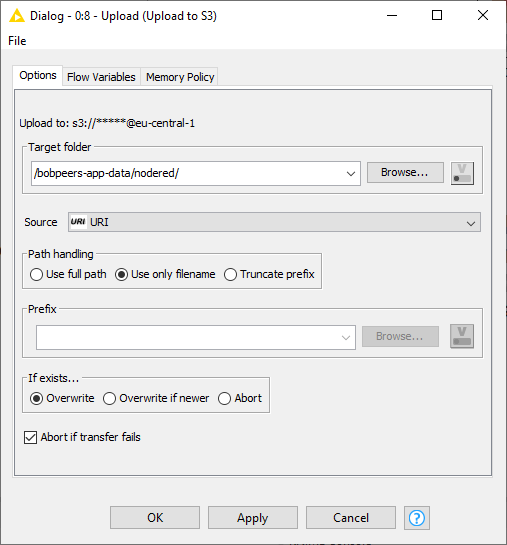
Upload to S3
Simply choose the target directory on S3 you wish to upload your files to, in this case I’m uploading to a sub directory called nodered. As well as the S3 connection this node expects a list of URIs as shown in the initial flow overview. This is standard KNIME and uses a List Files node followed by a String to URI node.
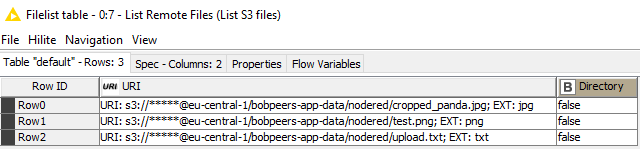
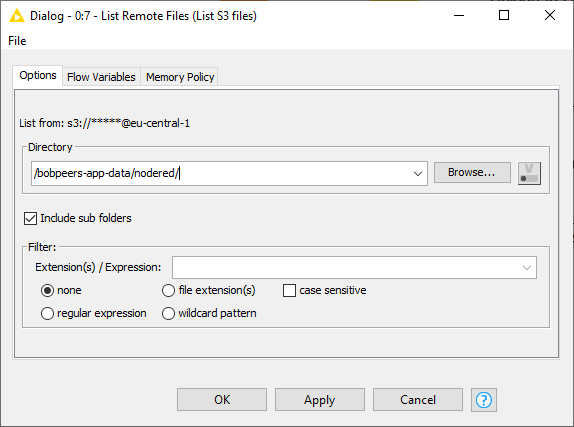
List S3 Files
As with uploading this node asks for the S3 directory to list and by default will list all the files in you bucket.
Here the remote files are displayed.